Index Prints

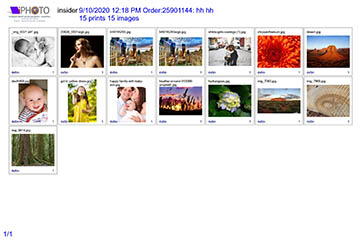
Two modes for printing Index prints or ID prints:
Simple: The index print is formatted to the same size as rest of the order.
Custom: Variable settings for a custom printer output and print size.
Simple
Just selecting this will produce an index print the same print size as the order it is printed with. This is the easiest mode.
Output Index print setting

Settings: None, Index prints or ID(Order sort) print. At start or end of order.
Custom
Additional setting for printing the index print on a specific output and print size.
The Index selection could be for a different printer if the lab has multiple outputs defined.
Defining custom Index Print settings
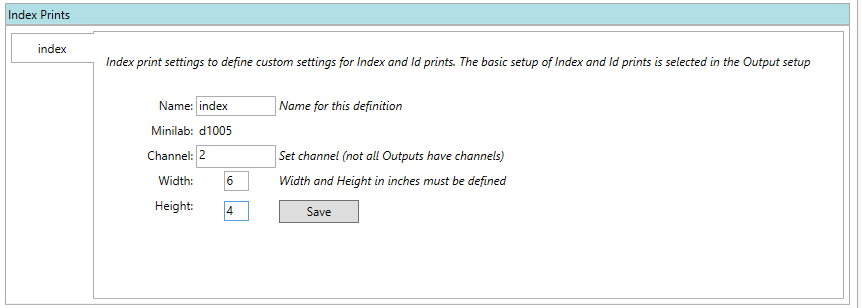
Go to Settings, Index Prints
Keying a name and clicking “add new…” will display an output selection.

The Logo file is for specifying a logo that will be added to the top left corner of all index or id prints.
When an index print is defined, the output selection will display a selection for the desired output to print the index prints.

The print width and height need to be specified and match the print size of the channel, otherwise cropping or incorrect formatting will occur.

Selecting Index print when assigning an Output to a print format
Selecting the checkbox will print the index or id print the same print size as the order. The selection can be linked to specific Dakis format selections. E.g. If the customer requested index prints.
The index print drop down only appears if custom index prints have been defined.

Selecting the defined Index print setting will specify the index print size according to the specified settings.
