Wallet Setting
Wallets are small prints that are printed on larger size pages and cut using a die
cutter.
The wallet setup in IPS Order Manager depends on an already defined Noritsu, Agfa, Fuji Jobmaker, Noritsu Hot Folder
or Windows printer setup
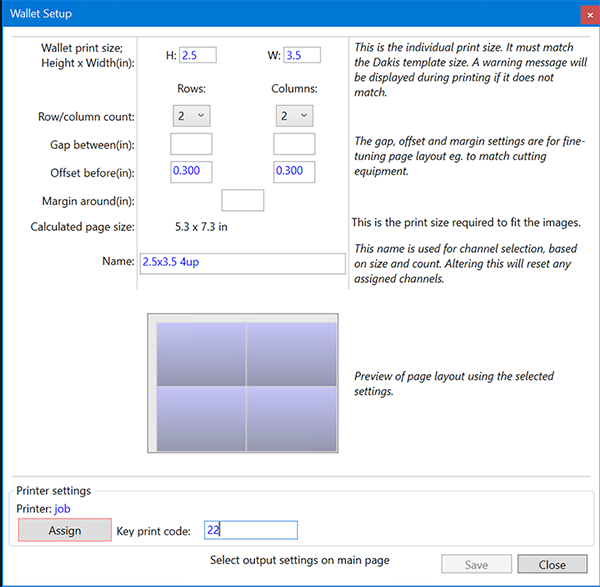
Important: The size dimensions must match the product size defined in the Dakis
template. If it does not then the product will not be printed or unexpected results will occur.
The margin and gap offsets are optional and only used to fit the wallets onto the
page and to match die cutter specifications.
Wallet setup.1
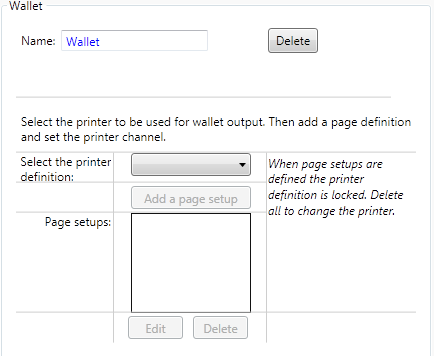
- Switch on Wallets in minilab/outputs setup
- Define a name and click "Click to Add"
- Select a minilab from the dropdown box.
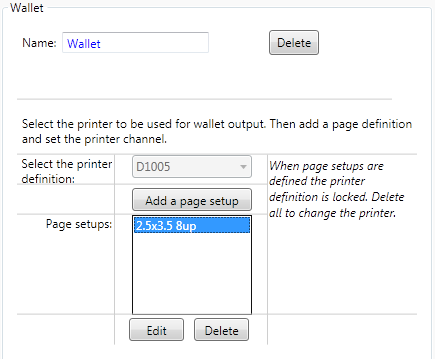
Wallet setup.2

- Click Add a page setup.
- Define the wallet size in inches and rows and columns.
- Select a printer channel next to Channel assignment and click Save.
Wallet setup.3
Setup fine-tuning
To adjust the prints to fit your die-cutter you may need to adjust the margin and offsets to get optimum results. The gaps and offsets settings can match the image to your die-cutter.
Margin

The margin setting adds a border around the image. This is effective when minilabs scale the image up to prevent white borders.
Offsets
The offsets add leading space before the image at the left or top.
Gaps
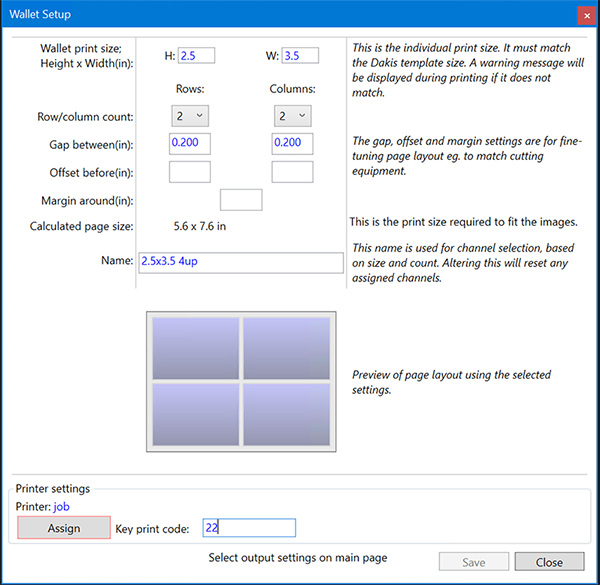
The gap setting adds spaces between the individual images.